Every year, as soon as the first cold front rolls in, homeowners race to crank up the heat. They wait and hope everything still works as the temperature drops. If you have ever crossed your fingers and whispered a little prayer before touching that thermostat, you are not alone.
Learning how to winterize HVAC system equipment is how you stop hoping and start knowing. When you take a few smart steps in fall, you protect your home. You also cut your bills and keep surprise breakdowns off your winter calendar.
Taking action early prevents the stress of emergency repairs during a freeze. A well-prepared home stays cozy regardless of the weather outside. That is what this guide will walk you through.
Most people think about winter prep as grabbing firewood and checking the forecast. They often forget their heating and cooling system is doing the heavy lifting. Yet, the average home relies heavily on this equipment for daily comfort.
More than half of the average home’s energy use goes straight to heating and cooling.
If your equipment runs rough, leaks air, or wastes power, you feel it fast in your wallet. The system has to work harder to maintain the same temperature. This extra strain leads to premature wear and tear on expensive components.
On the flip side, small tune ups and checks before winter can extend unit life. Proper care can keep an air conditioner lasting 15 to 20 years instead of dying early. Maintenance is an investment rather than just an expense.
The way you winterize changes a bit based on where you live. In places with light winters, the work focuses on comfort and savings. You might not need to worry about deep freezes affecting your pipes.
In colder areas, the main goal is protecting pipes, lines, and parts from serious cold. Hard freezes can cause significant damage if you are not prepared. Local climate data should guide your maintenance plan.
Before starting your inspection, gather a few basic tools. Having everything ready makes the process go faster. You will likely have most of these items in your garage or utility drawer.
Grab a sturdy flashlight to see into dark corners of the cabinet. You will need a screwdriver to open any access panels or tighten loose screws. A fresh air filter is essential to have on hand before you begin.
For cleaning, bring a garden hose with a spray nozzle for the outdoor unit. A soft brush or broom helps clear away debris. Finally, keep a notebook to write down any odd sounds or issues you find.
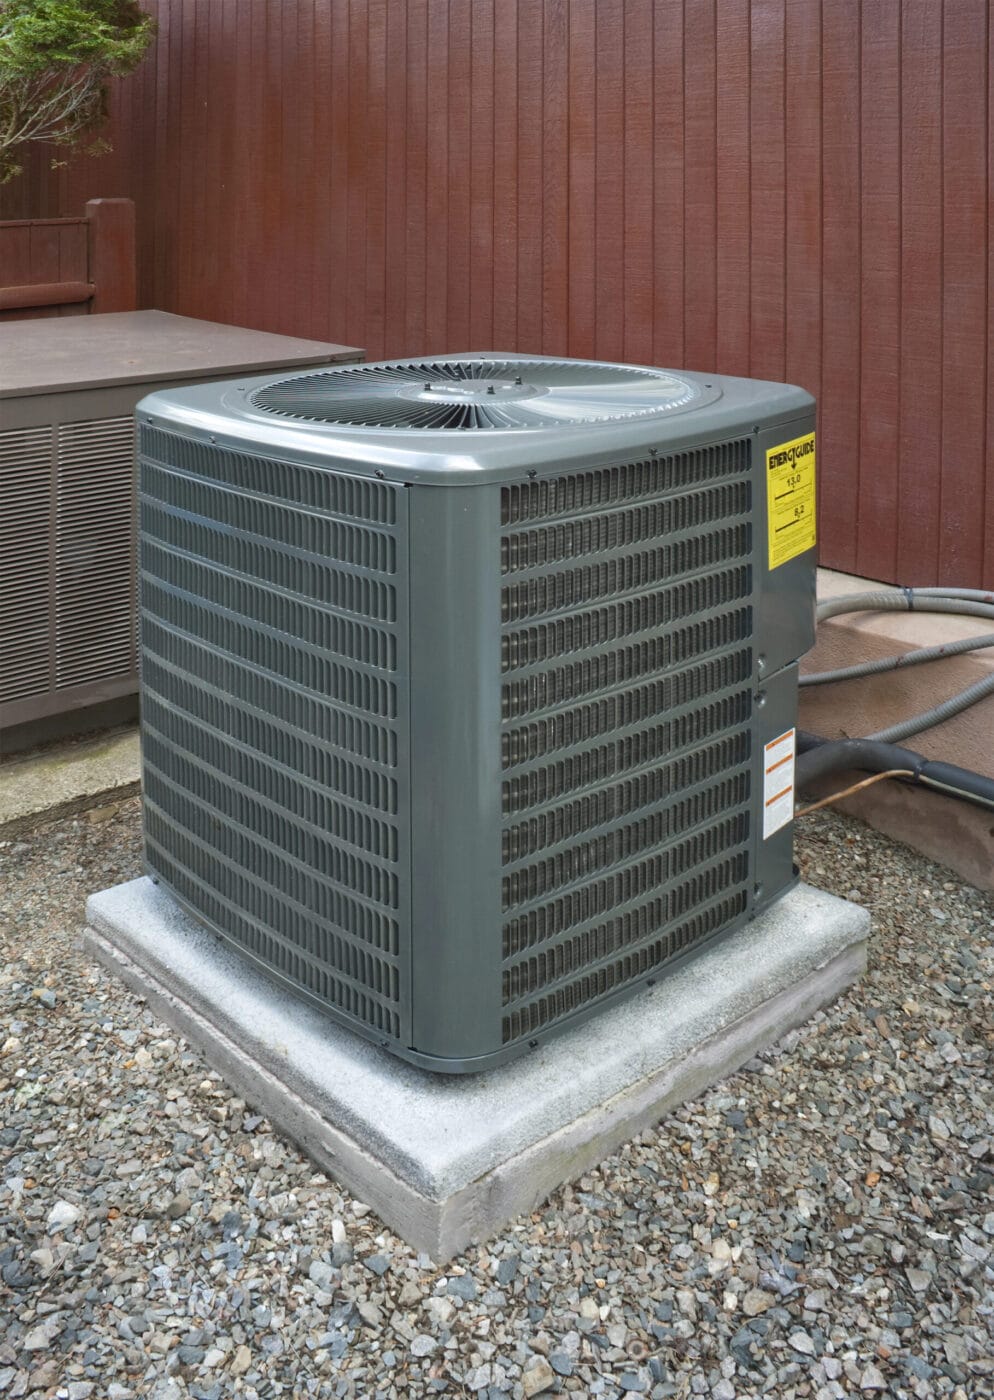
Before you flip any switches, you need a baseline. Your eyes and ears catch a lot more than you might think. Start with a slow walk around your outdoor unit.
Look for dents, bent fins, loose panels, oil spots, and signs of animals. Small creatures often look for warm spots to nest as the weather turns. Clear grass clippings, twigs, and leaves from the immediate area.
Inside the home, walk your rooms. Listen for rattles or odd humming coming from the vents. Notice any vents blowing weakly or not at all.
These clues help you catch problems long before that first freezing night. Addressing a loose screw now prevents a rattle from becoming a bang later. Early detection is your best defense against failure.
If you only pick one job off this list, make it this one. A dirty filter makes your HVAC system wheeze and strain. It acts like a wall that blocks the heat you are paying for.
That blockage means higher bills, dusty rooms, and shorter equipment life. The blower motor has to work twice as hard to push air through. Over time, this causes motors to burn out prematurely.
The U.S. Department of Energy notes that swapping out a clogged filter is impactful. It can improve efficiency by 5 to 15 percent. That is a serious return on a cheap filter and a few minutes of effort.
Set a reminder to check it every month in winter, or every six weeks at most. If you live in a place with heavy dust or pets, shorter cycles may make sense. Your lungs and your power bill both benefit.
Here is a harsh truth. If your ducts leak and your doors are drafty, you can own the best furnace in town and still feel cold. Warm air just slips away before it reaches you.
Leaks create negative pressure that pulls cold outside air into your home. Simple home care guides suggest checking doors and windows for gaps. You should seal them with caulk or weather stripping.
For ductwork, you can eyeball the main runs you can see in your attic or crawl space. Look for loose joints, kinks, or tape that is falling off. Any visible gap is a spot where you are losing money.
A more complete check, along with pressure testing, should be handled by an HVAC pro. Proper sealing often requires professional mastic or foil tape. Their tools reach problems your flashlight cannot.
Waiting until the first hard freeze to switch from cooling to heating is risky. It is like waiting to test a parachute during the jump. You want a little buffer to fix issues.
On a cool fall day, set the thermostat a few degrees higher than the room temperature. Listen as the furnace kicks on. The burner or heat strips should start up smoothly without loud bangs.
After a few minutes, air from your vents should feel noticeably warm. You might smell a faint burning odor for a moment. This is usually just dust burning off the heating elements.
A fall tune up lets a tech clean burners and inspect safety controls. They also check refrigerant levels on heat pumps. Verifying that the venting is clear keeps your home safe from exhaust fumes.
You might be tempted to skip service if your system “seems fine.” But like a car running low on oil, hidden issues pile up slowly. Minor wear on a part can turn into a total failure during a cold snap.
In real life, that looks like higher run times and uneven temperatures. The system still powers on, so you assume it is healthy. Catching a problem like that during a visit is far cheaper than waiting for a mid winter failure.
Your future self will be grateful you thought ahead. Preventative care costs a fraction of emergency service rates. It also buys you peace of mind.
For many homeowners with a separate furnace and air conditioner, winter means a break. The outdoor cooling unit will sit quiet for months. That down time can be kind or cruel depending on how you treat it.
Use the disconnect box mounted near the unit or flip the matching breaker. This is located in your main electrical panel. Turning off the power is a safety step for the equipment.
This keeps the system from randomly trying to run during a warm spell. If snow is packed around the cabinet, a sudden start is bad news. Sudden starts under those conditions can strain motors and fan blades.
After power is off, remove grass, weeds, and plant matter. Clear debris from the base and sides. Homeowners should keep at least a couple feet clear around their equipment.
You can find this advice in their guide on prepping an AC for winter. If your manual allows it, you can rinse the coils and cabinet. Use low pressure water to wash away dirt and grime.
Once everything is clean, give it time to dry completely. Trapped moisture in tight corners is a recipe for rust later. Let the sun do its work for a day or two.
Any water line or refrigerant line exposed to frigid air can turn into trouble. A frozen section can crack and leak. This forces expensive repairs come spring.
Insulating foam sleeves slide over copper lines and help keep them safe. You can find these at any hardware store. They are easy to cut and install yourself.
Some homeowners get creative with cheap fixes. Cutting open pool noodles and slipping them around pipes offers added padding. While not professional grade, it is better than bare metal.
Knowing this location lets you react fast. If a pipe freezes or bursts mid storm, you can stop the water damage quickly. Seconds count when water is pouring into your home.
Comfort matters, but safety matters even more. Any fuel burning furnace carries some risk of carbon monoxide. This happens if vents are blocked or heat exchangers crack.
Winter prep lists from contractors and retailers stress the same core steps. Test smoke detectors and carbon monoxide alarms immediately. Replace old batteries with fresh ones to be safe.
While you are at it, look at humidity levels. Very dry winter air cracks skin and shrinks wood trim. It also makes some health issues feel worse.
Talk with a local HVAC pro about humidity solutions. A whole home humidifier might make sense on your system. Otherwise, stand alone units in bedrooms can help you sleep better.
Once the basics are handled, you can move to comfort boosters. Small, no tools tricks often make a big difference. These adjustments improve how the heat feels in the room.
Ceiling fans are a great example of a hidden tool. Switch them to spin on a low speed in reverse. This usually means the blades spin clockwise.
They gently pull cool air up and push warm air down. This mixes the air without causing a draft. That tip shows up often in winter comfort guides from heating companies.
Install door sweeps to stop drafts from the garage or outside. Closing vents in unused rooms is another common trick. However, keep at least 80 percent of vents open to avoid pressure issues.
Each step lightens the load on the furnace or heat pump. The system runs less often. You feel more comfortable while spending less.
Your thermostat is the brain of your heating setup. Get the settings wrong and you pay more for less comfort. Get them right and the house just quietly works.
If you still use a simple manual thermostat, consider stepping up. A programmable or smart model offers major benefits. This upgrade gives you automatic setbacks while you sleep or work.
It then brings temperatures back up before you wake or arrive home. You stop heating an empty house. This is one of the easiest ways to save energy.
Some smart thermostats also offer usage reports. They provide room sensors to balance hot and cold spots. Reminders to change filters help you stay on track with maintenance.
That kind of insight protects your equipment. It can point to patterns and trouble signs you would not catch on your own. You gain control over your home’s climate.
One small warning here regarding new controls. You want a thermostat that fits your HVAC system type. Gas furnaces, heat pumps, and dual fuel setups do not all behave the same way.
If you are unsure what you have, check the equipment. Look at model numbers on the air handler and outside unit. The user manual usually lists compatible control types.
A short visit from a pro may be the easiest route. They can verify your wiring is correct. During the same visit, they can recommend tweaks based on how you live.
Here is the real win. Learning how to winterize HVAC system equipment is not about turning you into a full time technician. It is about giving you a simple, repeatable checklist.
This list ensures your home feels calm and steady all winter long. Inspect your gear with care. Clean and change filters often to keep air flowing freely.
Seal leaks before they steal your comfort. Shut down and protect the outdoor unit the right way. Give some love to those pipes, thermostats, and alarms.
Year after year, those small habits add up. You get lower bills, longer system life, and far fewer nasty surprises. Your future self, wrapped up on the couch with a warm mug, will be grateful.
1905 S McKenzie St, Foley, AL 36535
Mon - Sun 6am- 10pm
24/7 Emergency Service